


1 box organic chocolate cake mix
1 (15 ounce) can pure pumpkin
2 eggs
3 tablespoons coconut oil
1 teaspoon cinnamon
¼ teaspoon nutmeg
6 Justin’s Chocolate Cashew Butter Cups
1. Preheat oven to 350 degrees F. Grease a mini bundt cake pan and set aside.
2. In a large bowl mix the cake mix, canned pumpkin, eggs, coconut oil, cinnamon, and nutmeg until well combined.
3. Fill each bundt cake cavity 2/3 of the way with batter. Bake for 12-15 minutes or until toothpick comes out clean. Remove from oven and cool 5 minutes in pan. Remove from pan and cool complete on a wire rack.
4. In a medium, microwave-safe bowl, microwave Cashew Butter Cups at 50% power for one minute. Stir and continue to microwave in 30-second intervals until cups are melted. Stir until smooth.
5. Dip the tops of the cooled bundtlettes into melted chocolate and place on a wire rack to allow to drip. Enjoy!
I was fiddling around in the kitchen trying to find a way to make the smoothest smoothie. Some of them came out pretty rough around the edges but I think I’ve finally cracked it. My Chocolate Hazelnut Banana Smoothie is smoother than silk, finer than wine, and packed with JUSTIN’S® Chocolate Hazelnut and Almond Butter. If it was any smoother, you could skip it across a pond.
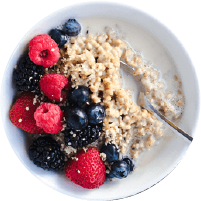
I topped my pumpkin ice cream with a Super Dark Chocolate Espresso Almond Butter Cup, and it blew my mind. What’s next? Pumpkin pies topped with Super Dark Chocolate Espresso Almond Butter Cups? Pumpkin Oatmeal? Pumpkin lattes? Hey now there’s an idea…
You probably didn’t know that you can use carrots instead of potatoes for a health-conscious, nutrient-rich substitute for fries. This recipe calls for JUSTIN’S® Maple Almond Butter. It doesn’t get better than these Crispy Carrot Fries with Cinnamon Maple Almond Dip.
1 box organic chocolate cake mix
1 (15 ounce) can pure pumpkin
2 eggs
3 tablespoons coconut oil
1 teaspoon cinnamon
¼ teaspoon nutmeg
6 Justin’s Chocolate Cashew Butter Cups
1. Preheat oven to 350 degrees F. Grease a mini bundt cake pan and set aside.
2. In a large bowl mix the cake mix, canned pumpkin, eggs, coconut oil, cinnamon, and nutmeg until well combined.
3. Fill each bundt cake cavity 2/3 of the way with batter. Bake for 12-15 minutes or until toothpick comes out clean. Remove from oven and cool 5 minutes in pan. Remove from pan and cool complete on a wire rack.
4. In a medium, microwave-safe bowl, microwave Cashew Butter Cups at 50% power for one minute. Stir and continue to microwave in 30-second intervals until cups are melted. Stir until smooth.
5. Dip the tops of the cooled bundtlettes into melted chocolate and place on a wire rack to allow to drip. Enjoy!
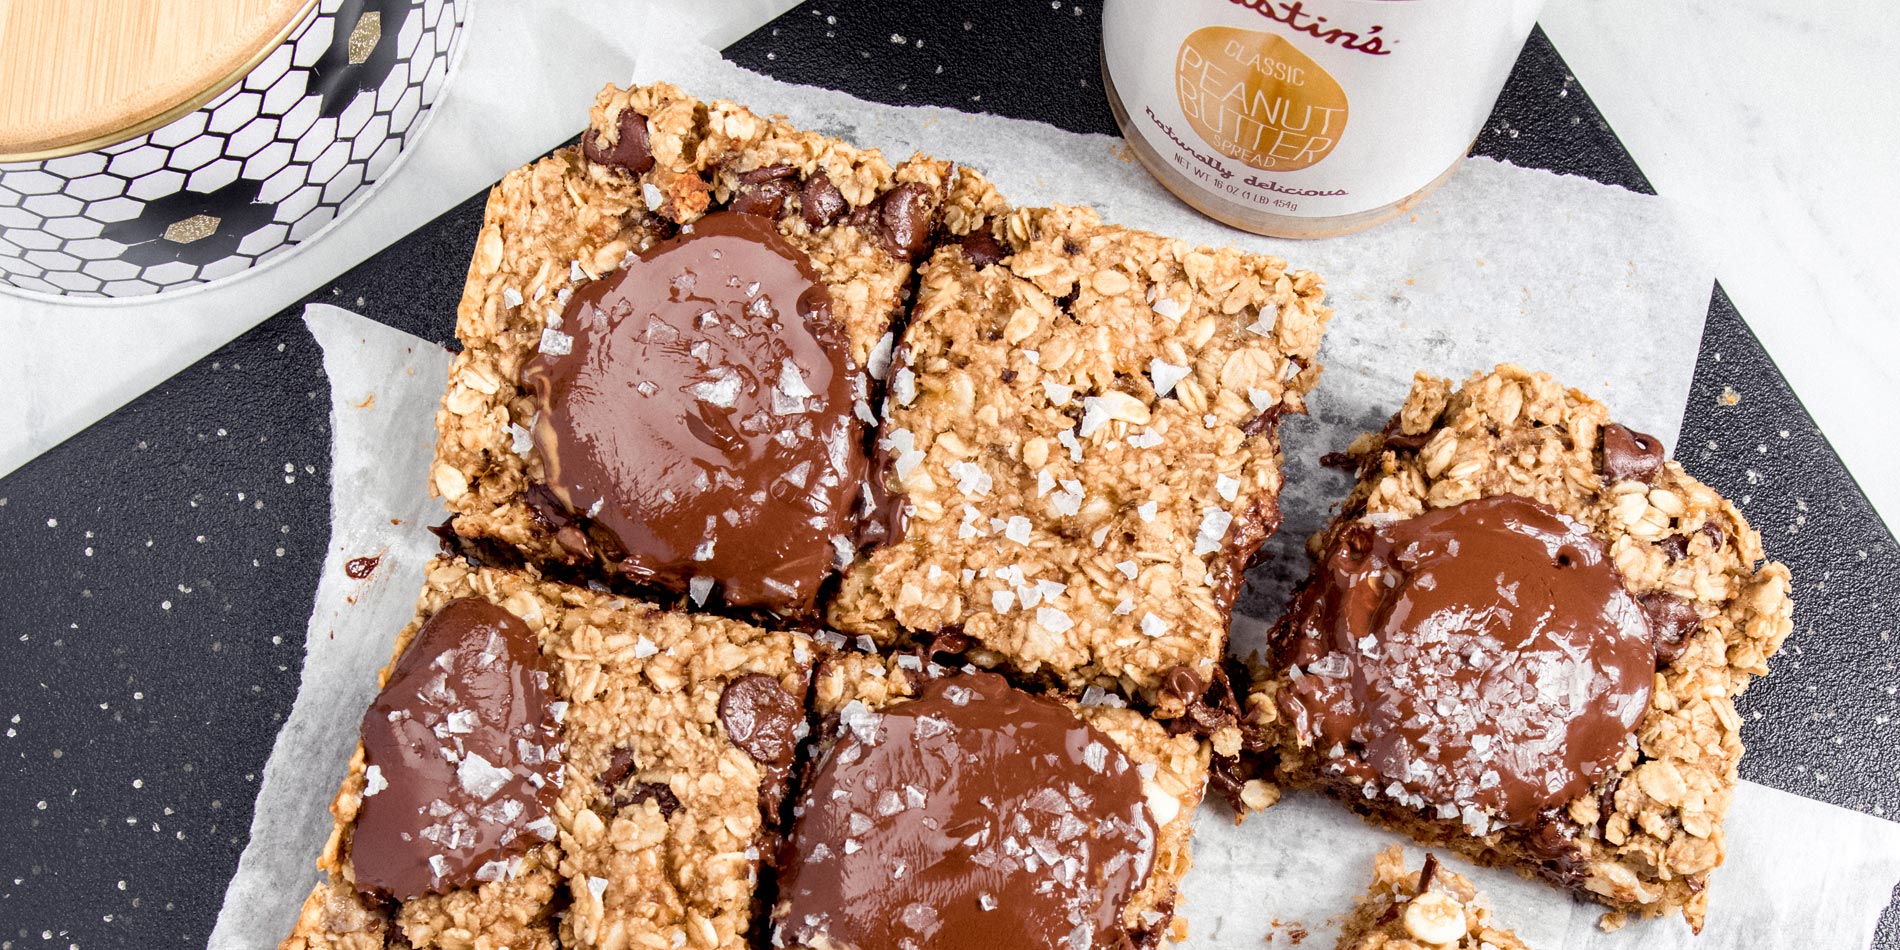
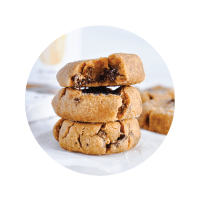
We did it, we combined everyone’s favorite flavors into one perfect cookie bar. Chocolate? Check. Peanut Butter? That too. Banana? You know it. Oatmeal? Obviously. Plus, these could not be any easier to make. You only need one bowl and no crazy ingredients. The hardest part of making these cookie bars will be waiting for them to cool.
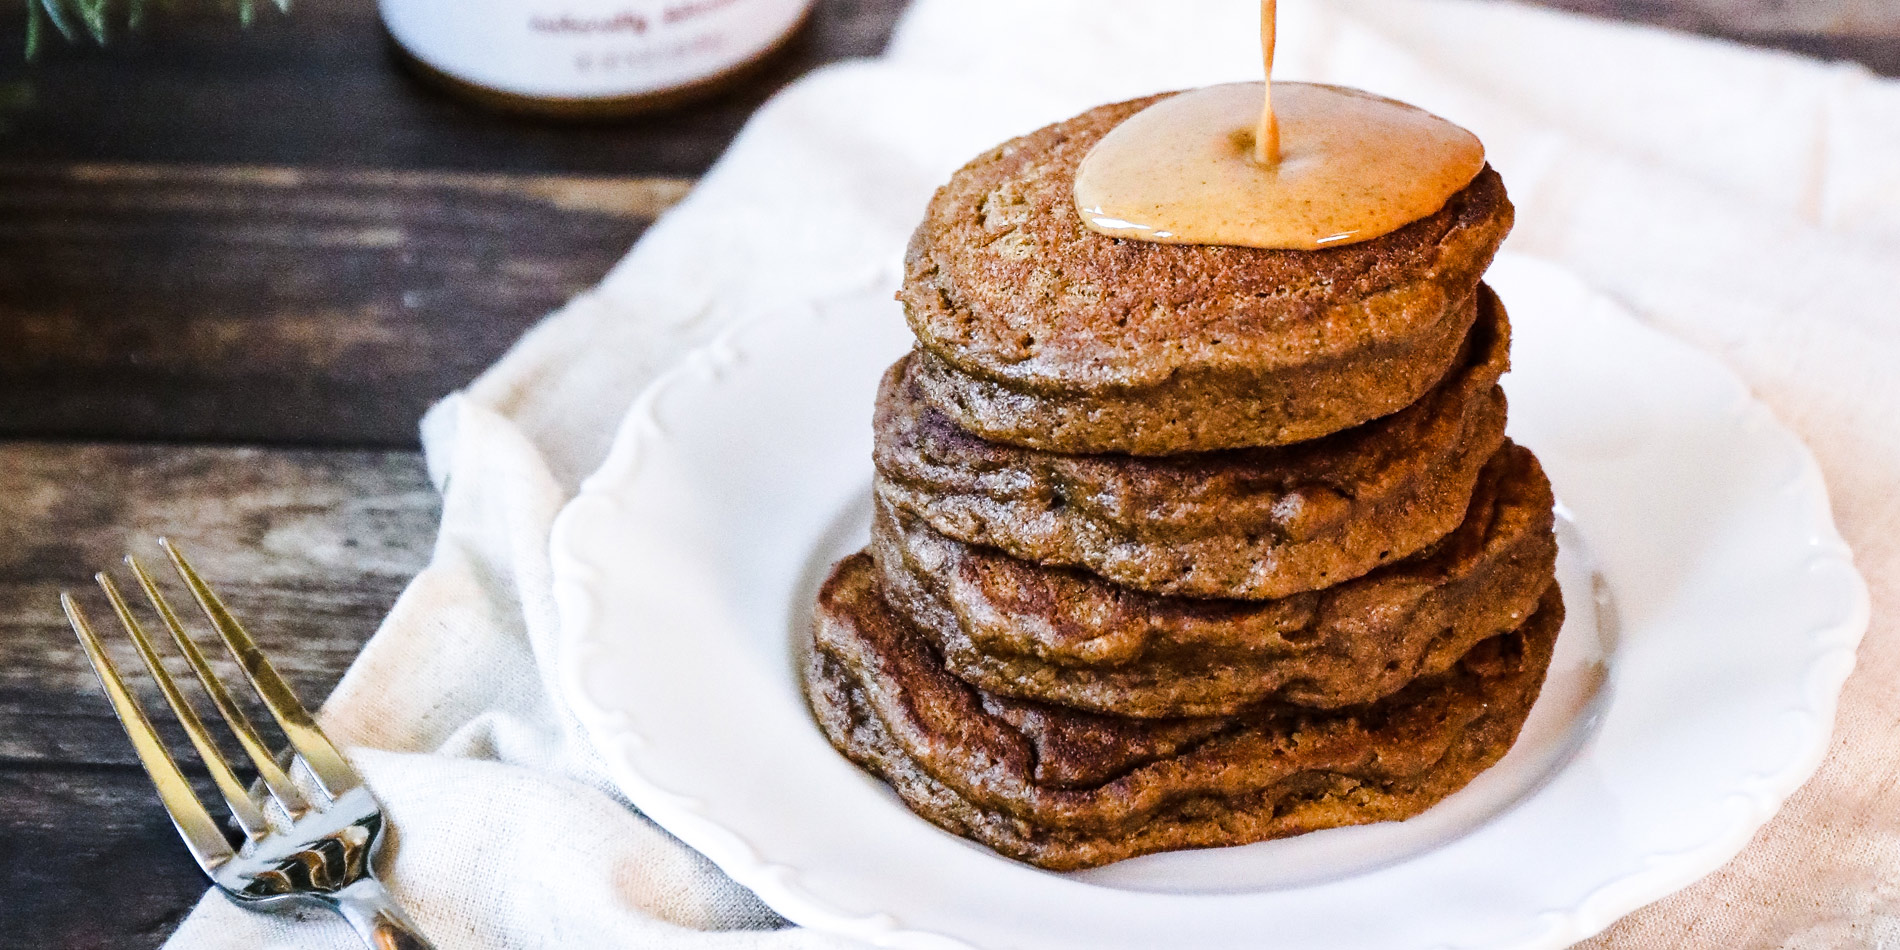
Have you ever taken a bite of a gingerbread cookie and thought to yourself, “How do I make this into a pancake?” If you haven’t you don’t have to, I’ve already thought of that for you. If you have, you’re welcome. These Gingerbread Almond Butter Pancakes are made with JUSTIN’S® Maple Almond Butter, and crazy delicious!
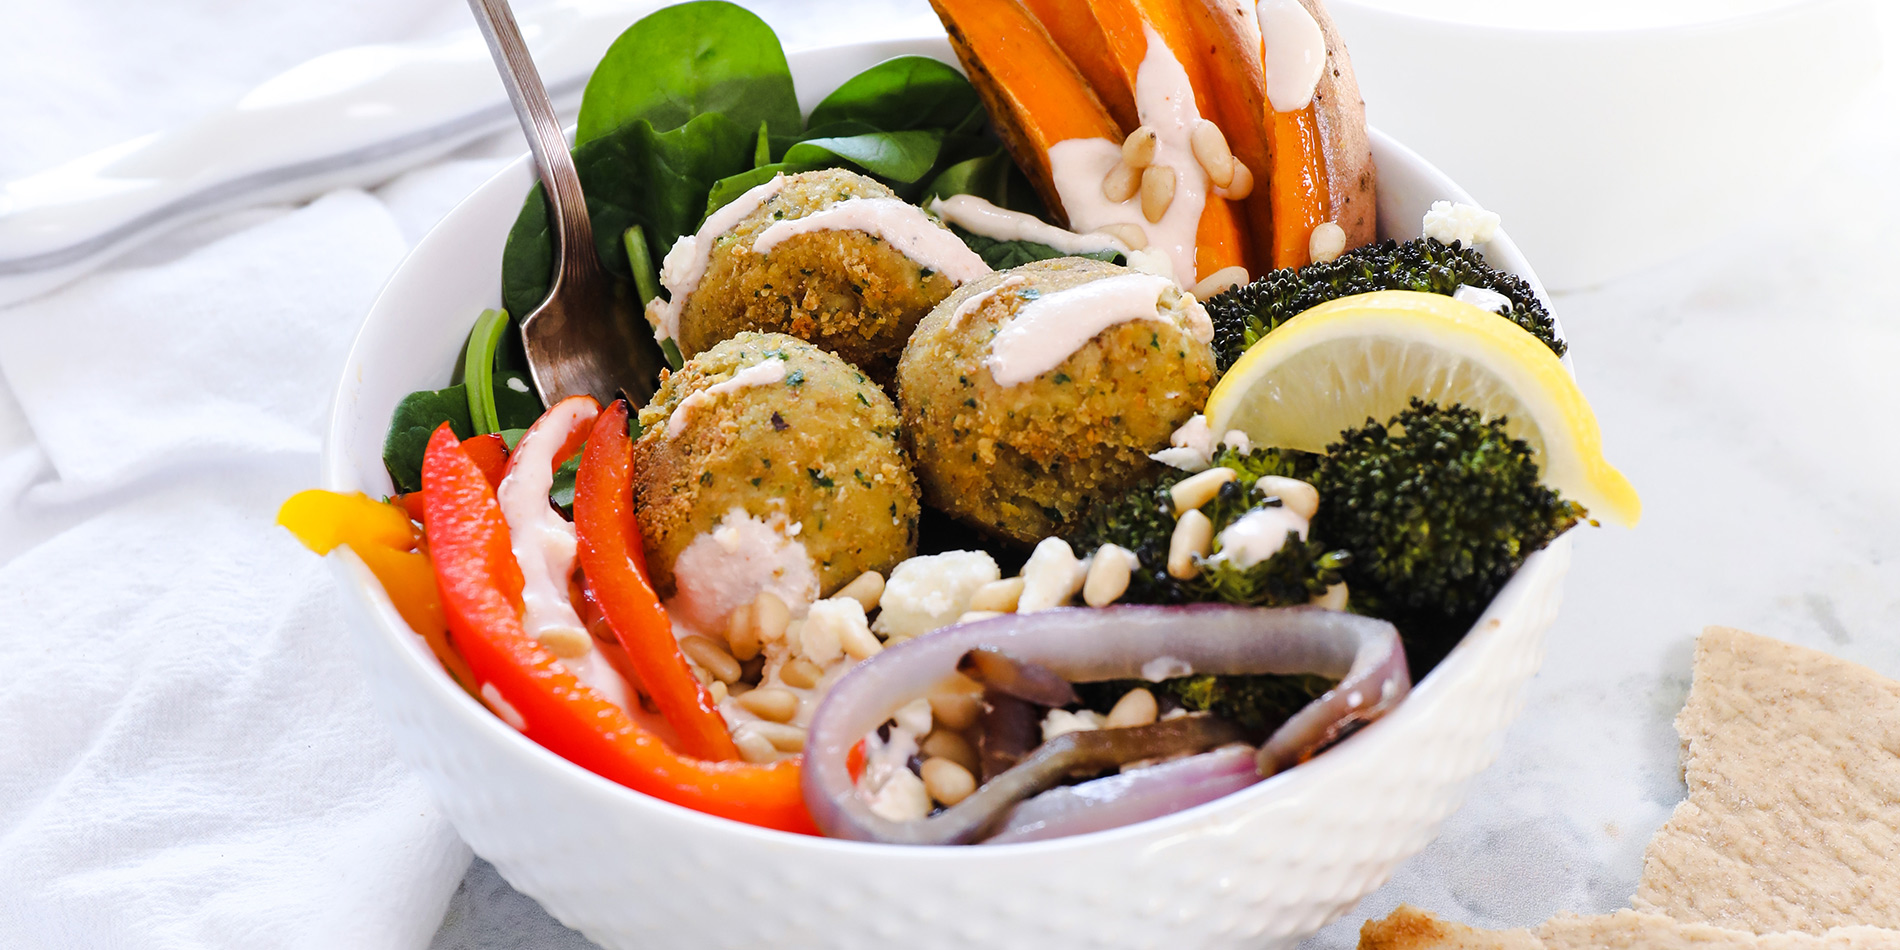
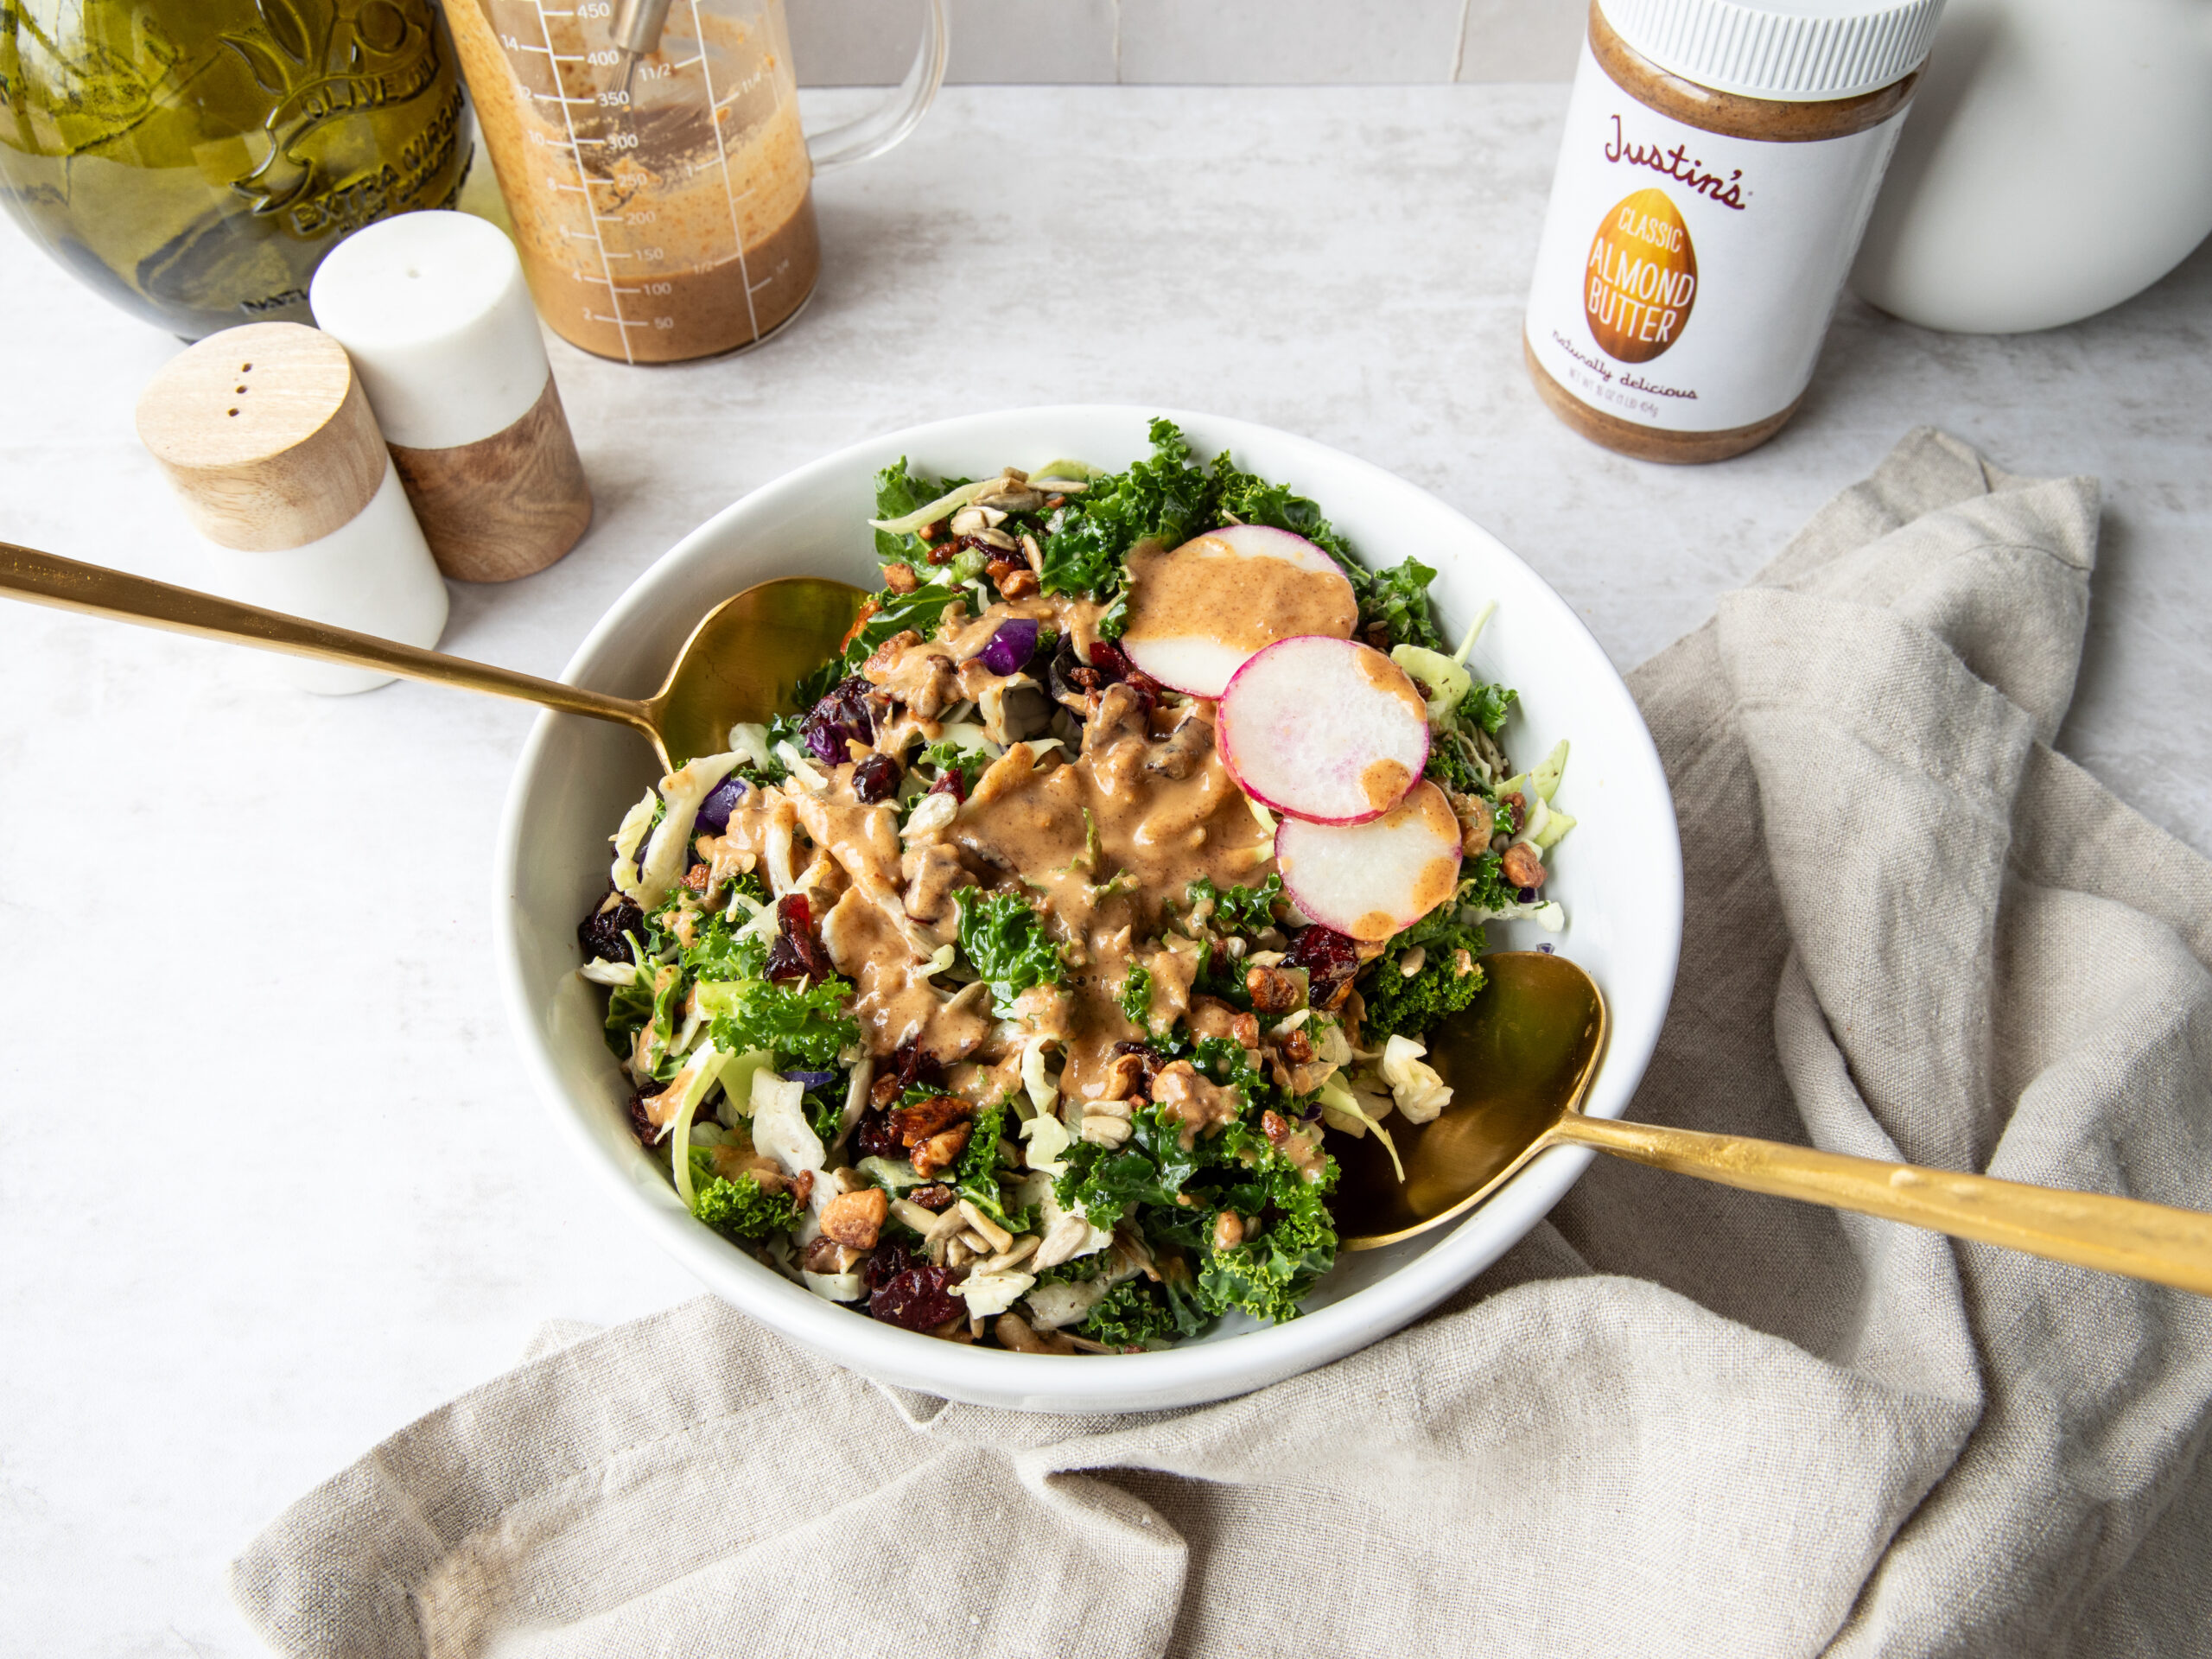
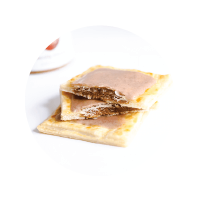
If you’ve ever wondered what I do when I’m not blending my delicious nut butters together, here’s the answer— I’m busy blending my nut butters with other foods to create delicious recipes! This Nutty Falafel is perfect for lunch or dinner, it’s simple and most importantly, tasty. The addition of JUSTIN’S® Classic Almond Butter is nutty in the best way.
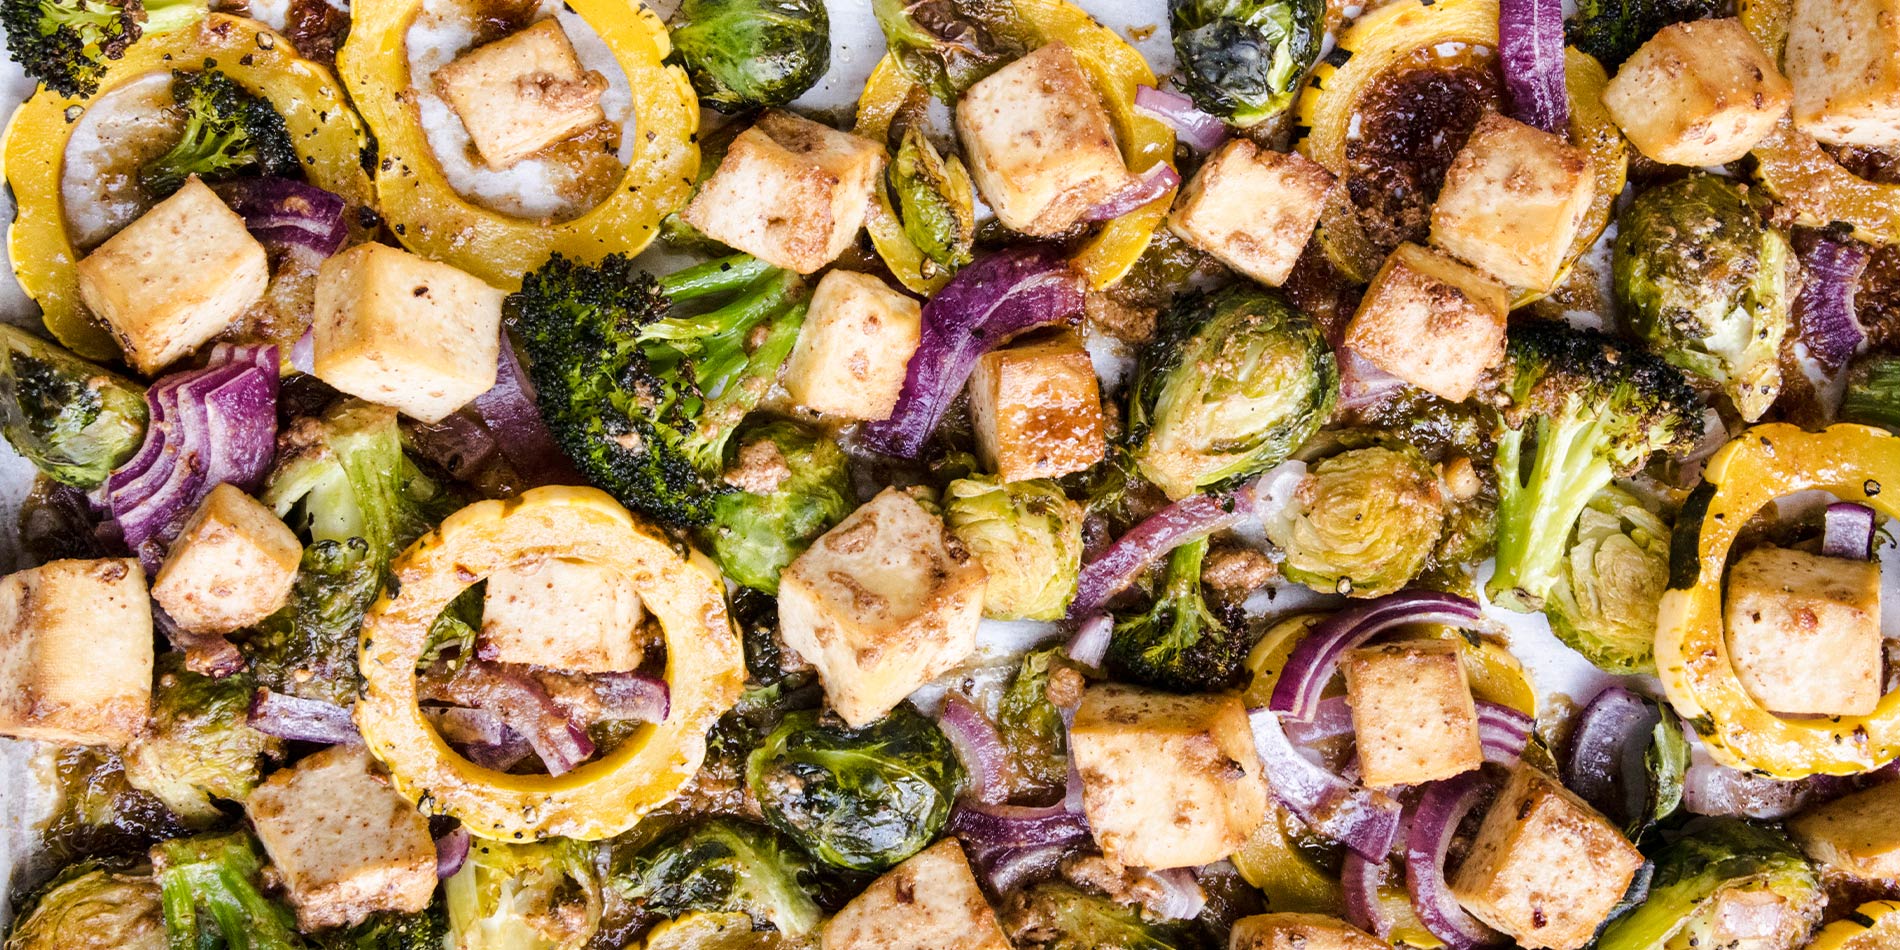
Roasted Almond Butter and Maple Glazed Tofu, Squash, and Brussels is a genuine triple threat. This dinner delight is vegetarian, full of flavor, and cooks in one pan. It doesn’t take your whole day to prepare either. At any given moment, you are thirty minutes of marinating, a few minutes of tossing ingredients together, and thirty minutes of hands-off roasting away from enjoying a flavor-packed, wholesome, vegetarian meal. Seriously. There’s really no downside to this recipe.