



1 box organic chocolate cake mix
1 (15 ounce) can pure pumpkin
2 eggs
3 tablespoons coconut oil
1 teaspoon cinnamon
¼ teaspoon nutmeg
6 Justin’s Chocolate Cashew Butter Cups
1. Preheat oven to 350 degrees F. Grease a mini bundt cake pan and set aside.
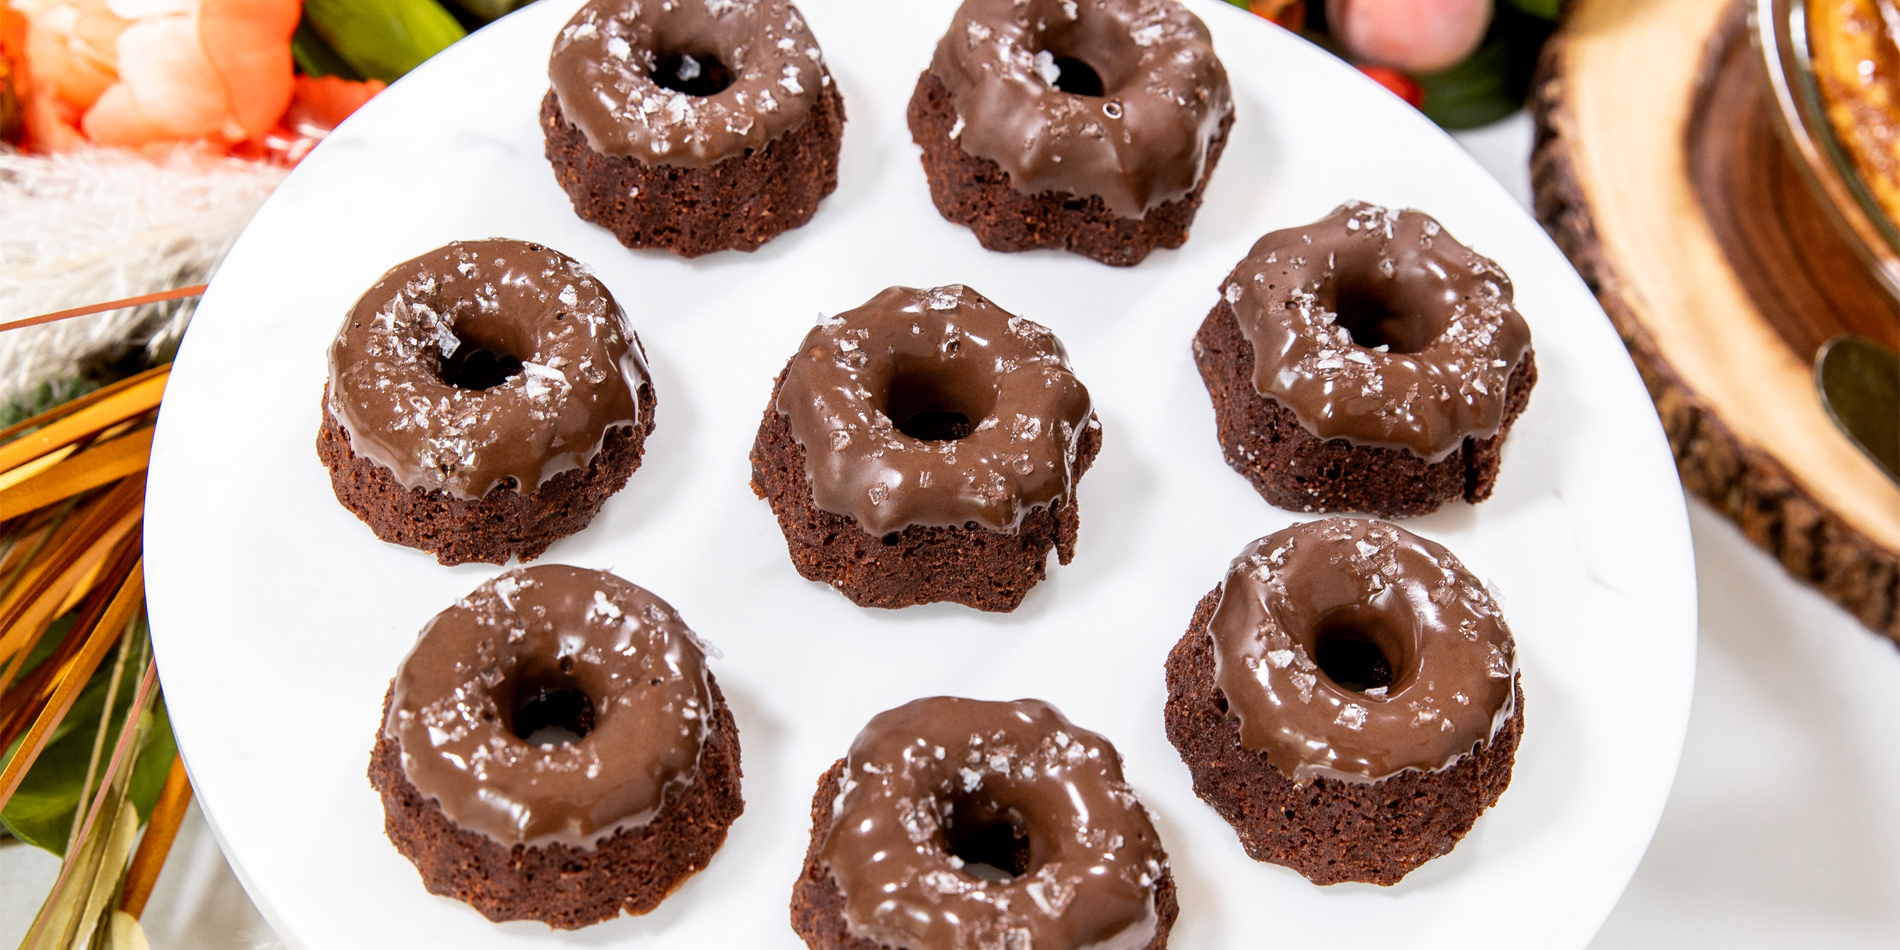
2. In a large bowl mix the cake mix, canned pumpkin, eggs, coconut oil, cinnamon, and nutmeg until well combined.
3. Fill each bundt cake cavity 2/3 of the way with batter. Bake for 12-15 minutes or until toothpick comes out clean. Remove from oven and cool 5 minutes in pan. Remove from pan and cool complete on a wire rack.
4. In a medium, microwave-safe bowl, microwave Cashew Butter Cups at 50% power for one minute. Stir and continue to microwave in 30-second intervals until cups are melted. Stir until smooth.
5. Dip the tops of the cooled bundtlettes into melted chocolate and place on a wire rack to allow to drip. Enjoy!
I’m all about taking care of myself. Every once in a while I need to take a break with a spa day for me and the family. My Massaged Kale Salad with Honey Almond Butter Vinaigrette might not feel as great as a day spa massage, it will make your insides feel nice and strong! Made with JUSTIN’S® Honey Almond Butter and delicious garden ingredients for a kick of great flavor.
1 box organic chocolate cake mix
1 (15 ounce) can pure pumpkin
2 eggs
3 tablespoons coconut oil
1 teaspoon cinnamon
¼ teaspoon nutmeg
6 Justin’s Chocolate Cashew Butter Cups
1. Preheat oven to 350 degrees F. Grease a mini bundt cake pan and set aside.
2. In a large bowl mix the cake mix, canned pumpkin, eggs, coconut oil, cinnamon, and nutmeg until well combined.
3. Fill each bundt cake cavity 2/3 of the way with batter. Bake for 12-15 minutes or until toothpick comes out clean. Remove from oven and cool 5 minutes in pan. Remove from pan and cool complete on a wire rack.
4. In a medium, microwave-safe bowl, microwave Cashew Butter Cups at 50% power for one minute. Stir and continue to microwave in 30-second intervals until cups are melted. Stir until smooth.
5. Dip the tops of the cooled bundtlettes into melted chocolate and place on a wire rack to allow to drip. Enjoy!
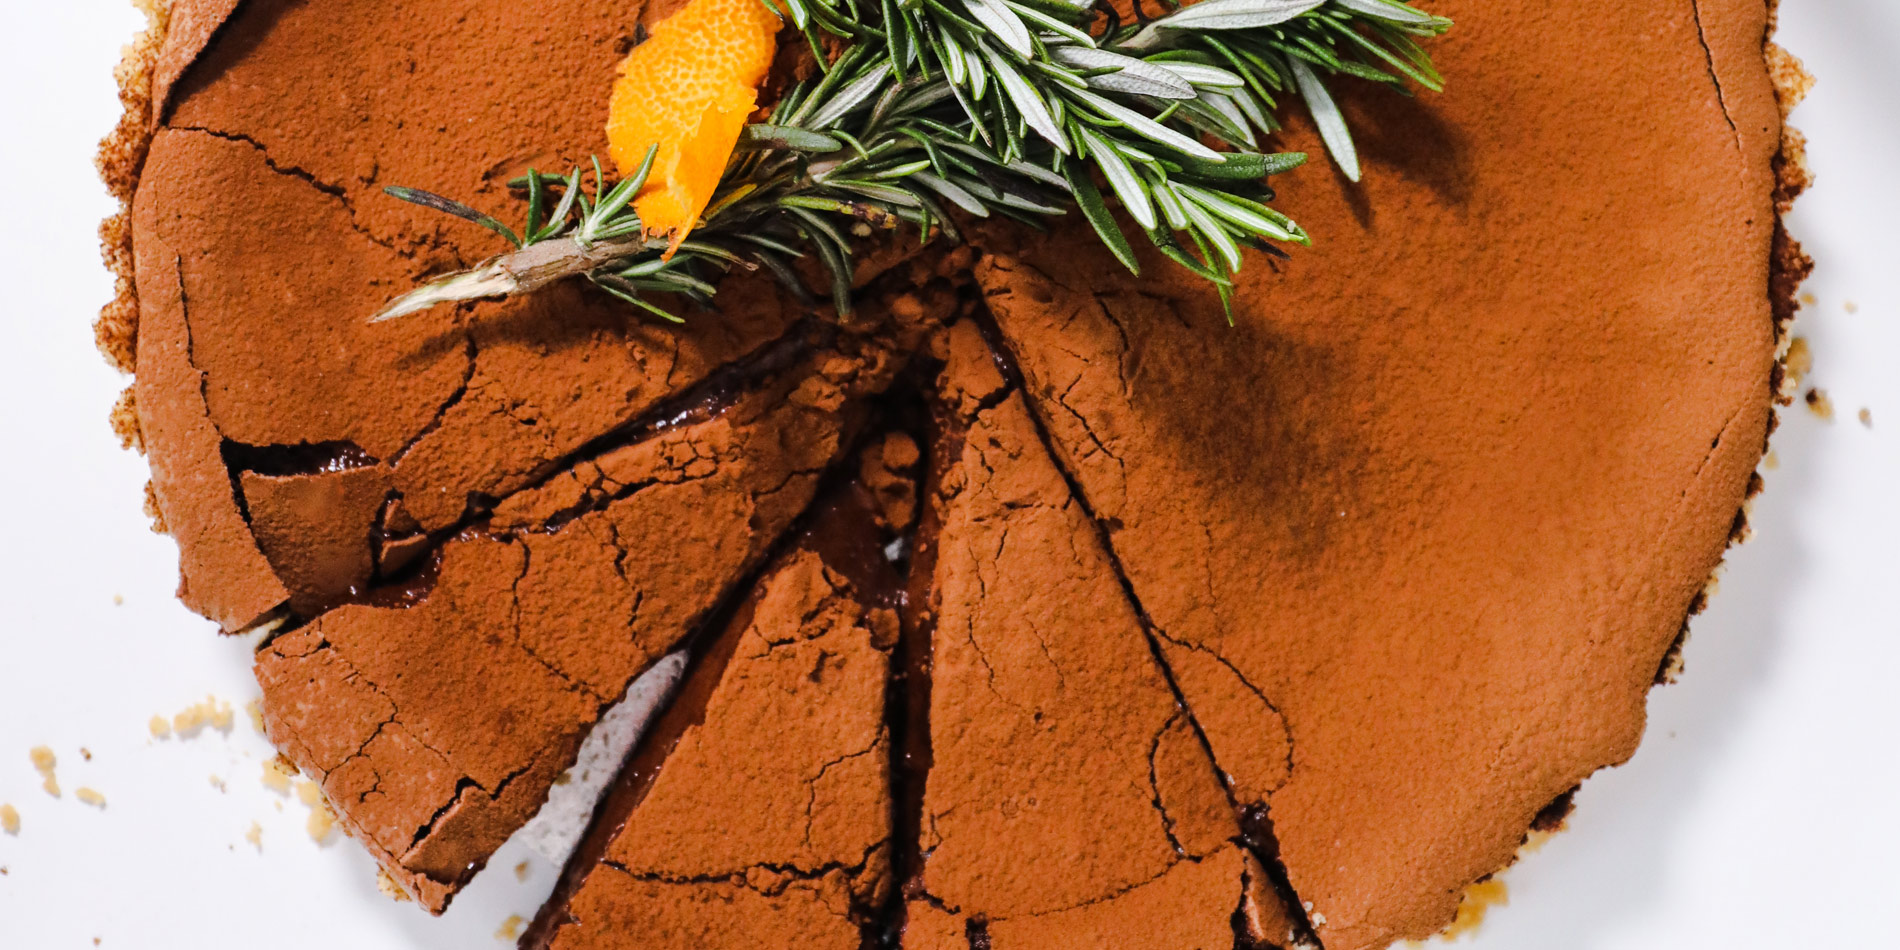
Tart. Tart. Just try saying it out loud. The word itself even sounds tart. Do you ever say a word so many times that it doesn’t sound like a thing anymore? If that’s the case, you better stop talking and start baking. My Chocolate Hazelnut Tart with Rosemary + Orange are definitely a thing. I think.
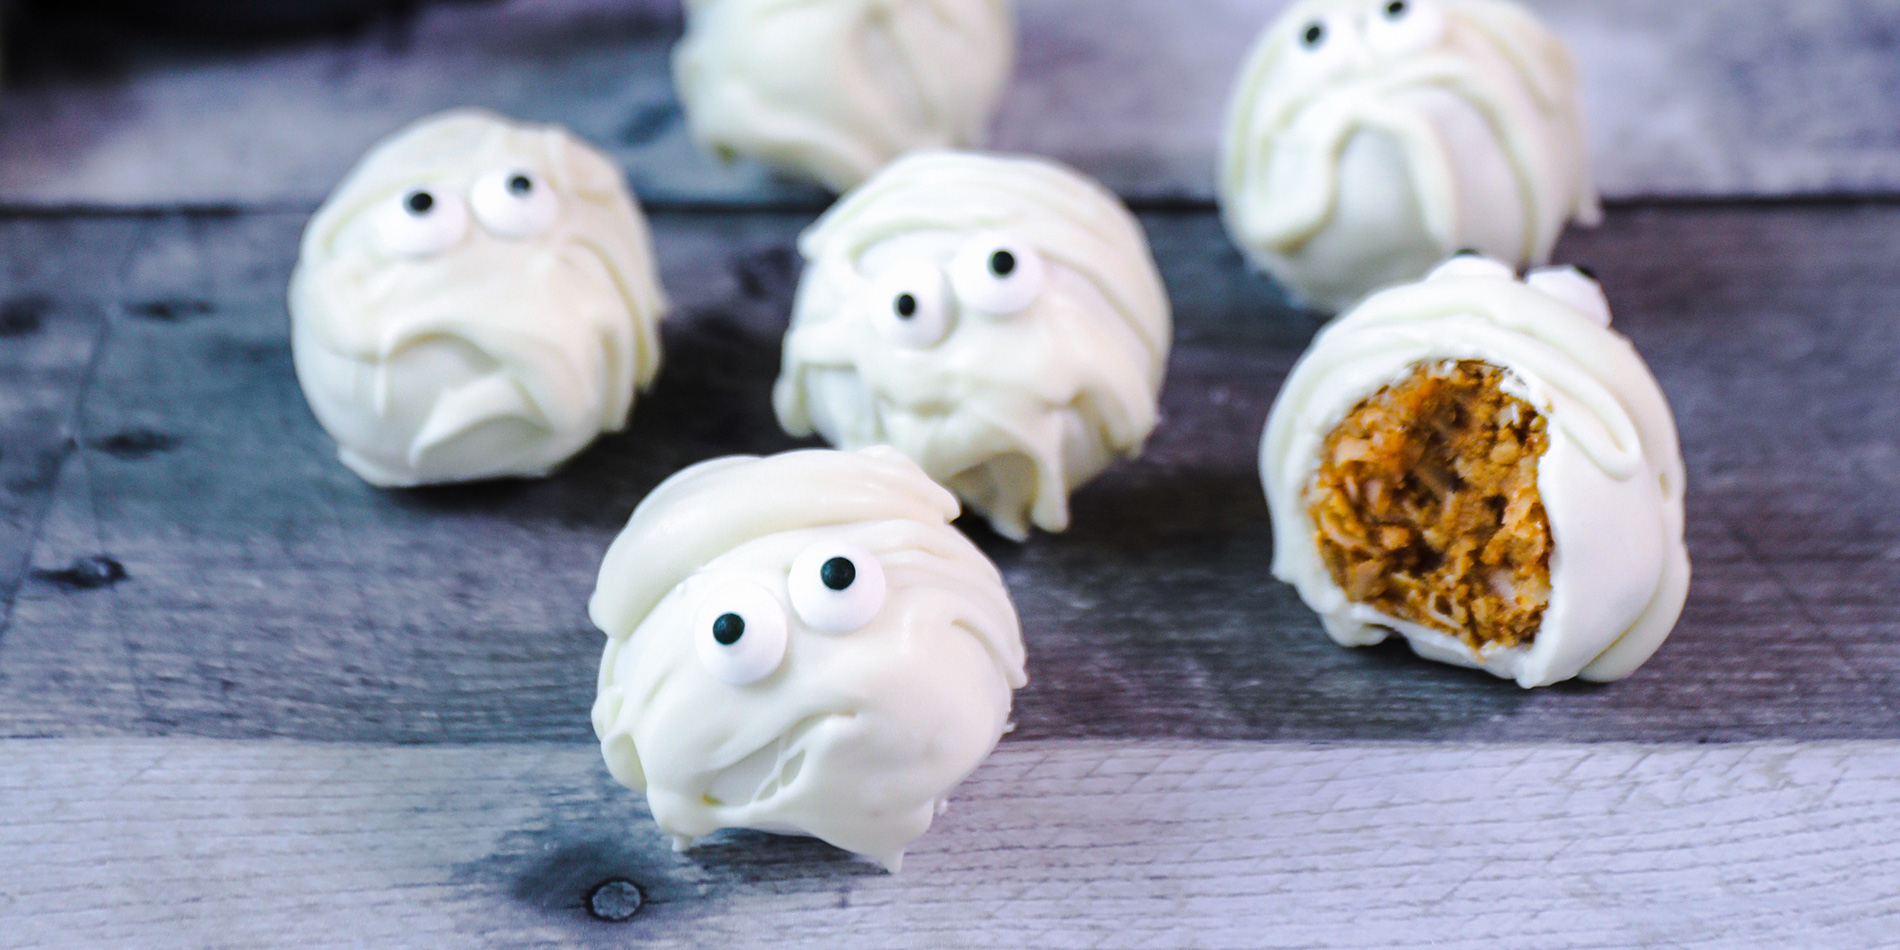
You don’t need to be scared of mummies in this White Chocolate Almond Butter Mummies recipe. Unless you want to be scared about how amazing they taste. They are so cute it’s spooky. Boo!
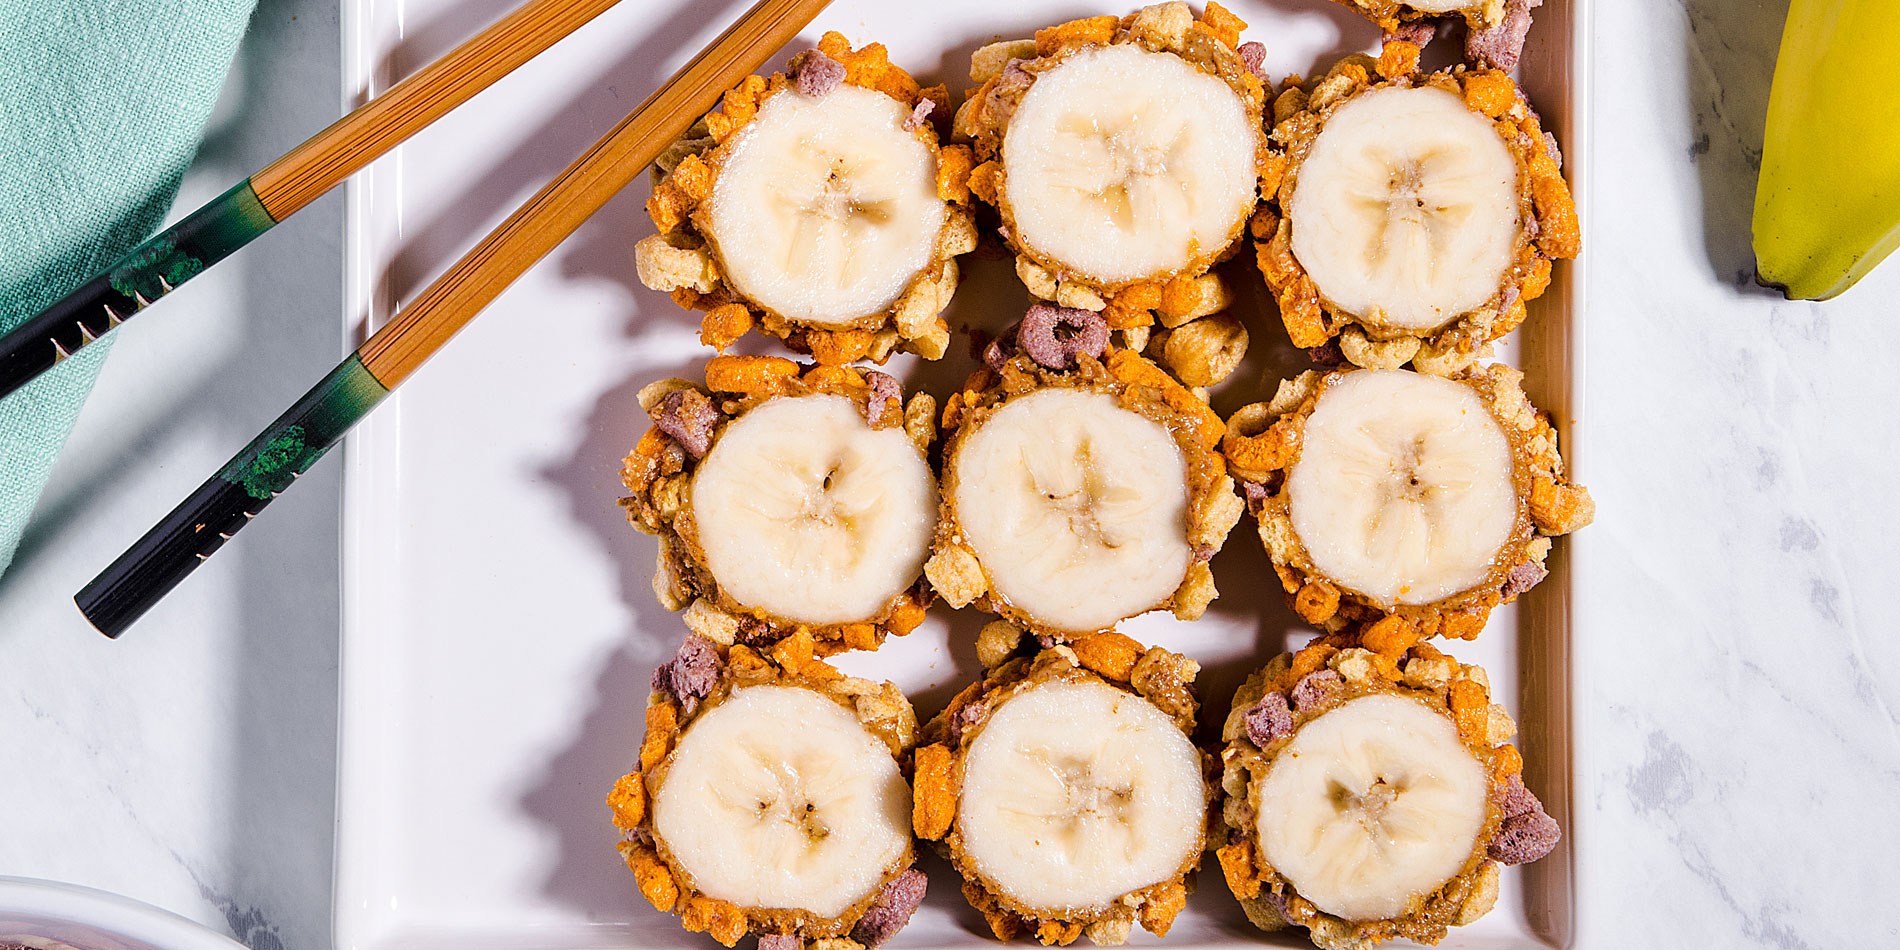
Why shouldn’t snacktime be special? But also simple to prepare and wholesome, because special doesn’t have to mean over the top. This Crunchy Banana “Roll” is sure to prompt even the hangriest snacker to crack a smile. And then throw some elbows on their way to grabbing their share of the best afternoon snack ever.